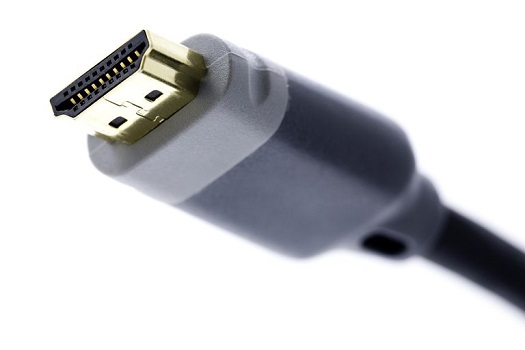
Just as with any technology device, once in a while, you’ll encounter challenges when using HDMI connections.
Sometimes the problems could be really serious requiring the efforts of an expert while in some situations, it could be because of a slight mistake you made during the process of linking the different gadgets together.
Below are some of the ways you can troubleshoot HDMI connection problems.
1. Check cable connections after relocation of devices
Always take care when moving devices in the house. This is because these HDMI cables do not fit a tight like, say, VGA connectors.
Therefore, there is a possibility of the cable pulling out when you moved the device during cleaning or re-positioning.
Always endeavor to review your connections when you tamper with the connection. Or, when buying, look out for cables with a self-lock feature.
2. Look out for any coiling in case of flickering output
As cables grow older or when they are longer and used in a small space, they tend to coil. So, when the display gadget (TV, projector, etc.) starts showing unclear images or transmitting poor sound, check if the cables are coiled.
When you uncoil it (HDMI cable) and still find issues, try testing it with other devices. If it works, then it has no problem.
If it doesn’t, then it’s time for a replacement. That’s another way you can troubleshoot HDMI connection problems.
To prevent your cables from coiling, you can also always use cable binders or trunks to prevent damages.
3. Change your HDMI input on TV
When connecting the HDMI cable to your TV, you have to select the Input from the TV Settings.
However, if it doesn’t work, consider changing the HDMI input. These changes can be made using the steps below:
On the TV remote, press the Menu button, scroll down to HDMI and select it. For some TVs, the remote already has the input button that takes you straight to HDMI settings.
In case you have been using HDMI 1, go ahead and select HDMI 2 and then try again.
4. Change sequence in which you turn your devices on
If you have several devices (TVs, Radios, Consoles and many others) connected at the same time, it would be better to turn on the main source first then followed by the receiving devices later.
This means turn on your DVD, Console, first then the TV and lastly the audio output/radio last. This helps the devices to sync data well.
When you start with the TV, it will send power through the HDMI cable to the console and DVD.
This causes a delay when the DVD or console has been turned on because they have to send the data to the TV. This is because power would already be running through the cable.
However, when you turn the console and DVD on, they will send power to through the cable to The TV and radio making display and audio easy.
5. Check resolution output settings on the source device
The source device is the device that is sending information or data to be displayed on TV and output by Radios. It is important to check and make sure that the resolutions have been set to meet the standards of the HDMI cable.
Also note that HDMI cables have a resolution of 720p, 1080P and 4K. The 4K resolution should be matched with the 4K capable TV.
6. Check for firmware updates
When the above solutions are not working even after all attempts have been made, check/Google updates for the HDMI source and Home theater receivers and the TV.
The software of these devices can be updated. When the update has been done, the devices achieve maximum efficiency.
In the above-suggested measures, you should be able to troubleshoot HDMI connection problems.
Also, read about the types of HDMI cables and the uses of HDMI port on a laptop.
Related:
Is 8K TV better than 4k TV? What you need to know
4 differences between Bluetooth and wireless mouse

